

Table of Contents
Introduction
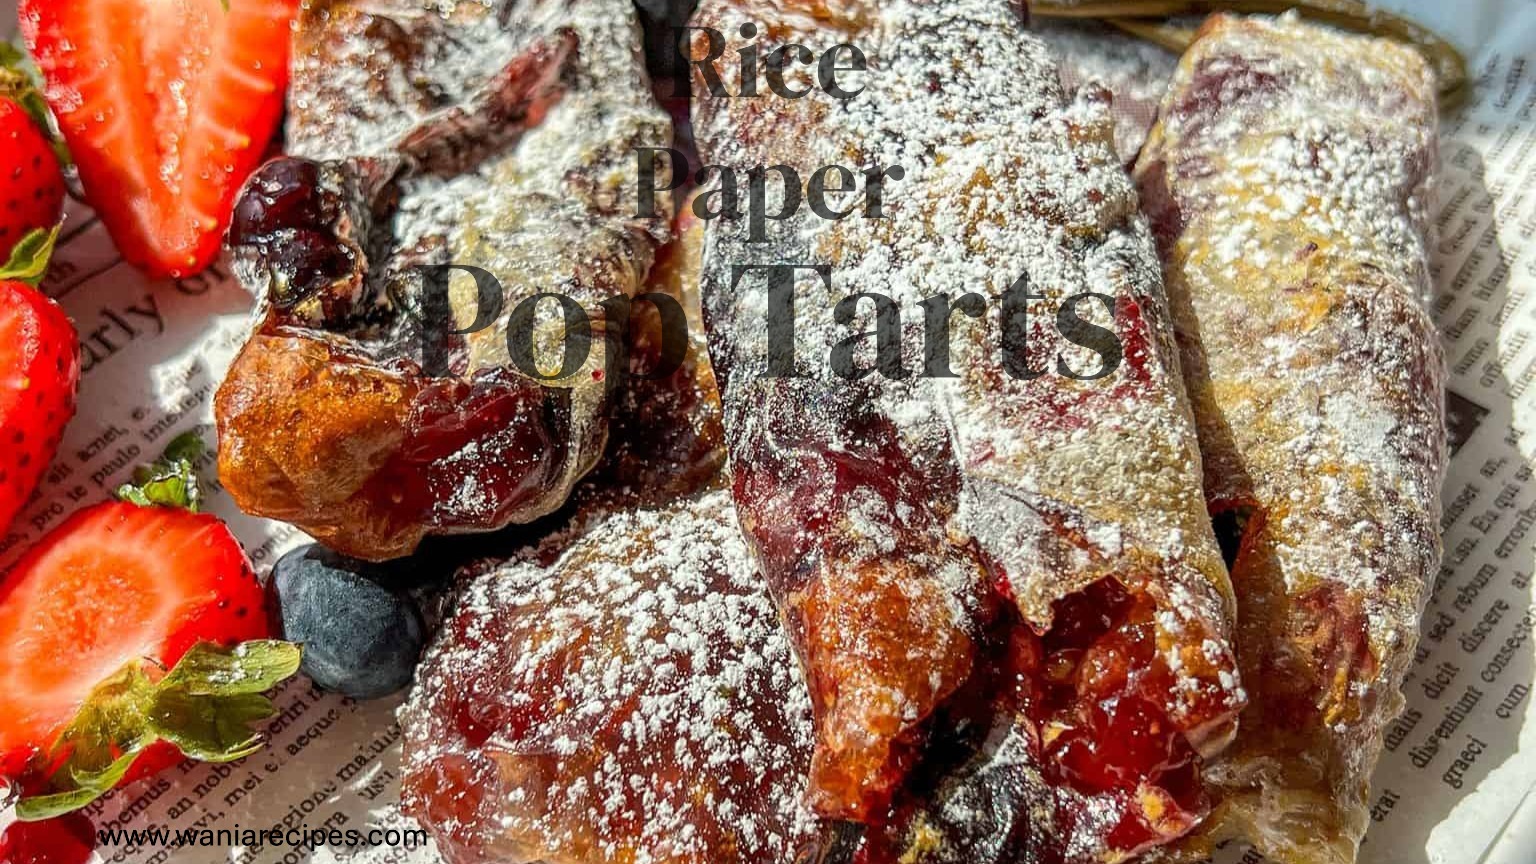
Imagine a pastry that’s impossibly crispy, delightfully flaky, and filled with a sweet, gooey center, all without ever turning on your oven. Sounds like a dream, right? Well, get ready to fall in love with the magic of Rice Paper Pop Tarts! This viral sensation is taking the internet by storm, and for good reason. It’s a fun, incredibly simple, and genius hack that transforms humble rice paper into a pastry that rivals your favorite toaster treat. Remember when we made those super-easy Rice Paper Samosas? This recipe uses that same clever ingredient to create something wonderfully sweet instead of savory. Best of all, these are ready in under 20 minutes, making them the perfect project for a fun baking session with kids or a quick treat to satisfy your sweet tooth. Let’s dive in and create the most delicious, crispy, and unforgettable Rice Paper Pop Tarts you’ve ever tasted!
What is a Rice Paper Pop Tart?
So, what in the world is a Rice Paper Pop Tart? Is it a pop tart made of paper? Is it a new fusion dessert? The name might sound a little quirky at first, but the concept is pure brilliance. Think of it as the ultimate kitchen hack. We’re using rice paper sheets—the same ones used for fresh spring rolls—as a stand-in for traditional pastry dough. When brushed with oil and pan-fried, they puff up into the most wonderfully crispy and shatteringly flaky layers you can imagine. It’s like creating a million-layer pastry without any of the hard work of laminating dough! They say the way to a person’s heart is through their stomach, and these adorable, homemade pastries are a surefire path to success. Ready to see how it’s done? Let’s get creating!
Why You’ll Love This Recipe:
You are going to be obsessed with this recipe, and here’s why. First and foremost, it’s all about that unbelievable texture. The magic of watching a simple rice paper sheet transform into a golden, flaky, multi-layered pastry in a hot pan is a showstopper. The contrast between the crispy exterior and the warm, soft filling is pure perfection.
Second, this is a massive cost-saver and super customizable. A pack of store-bought pop tarts can be pricey and are often packed with preservatives. For a fraction of the cost, you can make a batch at home and fill them with whatever your heart desires—your favorite jam, Nutella, lemon curd, or even a simple cinnamon-sugar mix.
Finally, the fun factor is through the roof. This is less of a formal recipe and more of a creative kitchen activity. It’s incredibly family-friendly and almost impossible to mess up. If you enjoyed our easy 3-Ingredient peanut butter cookies, you’ll love the simple, hands-on joy of this recipe. So, grab your ingredients and let’s make some magic happen!
How to Make Rice Paper Pop Tarts
Quick Overview
This dish is the epitome of easy, delicious, and satisfying. The process is incredibly simple: wet the rice paper, add your filling, seal, and pan-fry to golden perfection. The standout element is the shockingly flaky and crispy texture that rivals any baked good. From start to finish, you’ll have a delicious homemade pastry ready in about 15 minutes.
Key Ingredients for Rice Paper Pop Tarts
(Image: A flat lay of all the ingredients listed below, neatly arranged.)
- Round Rice Paper Sheets: The star of the show! You’ll need 4 sheets for two pop tarts.
- Your Filling of Choice: (2-3 tablespoons total) Such as:
- Strawberry Jam (or any fruit jam/preserves)
- Nutella
- Lemon Curd
- Water: In a shallow bowl or plate for wetting the rice paper.
- Neutral Oil: (1-2 tablespoons) For frying. Avocado, vegetable, or canola oil work best.
- For the Glaze (Optional):
- 1/4 cup Powdered Sugar
- 1-2 teaspoons Milk or Water
- Sprinkles for decoration
Step-by-Step Instructions
- Prepare Your Station: Have your filling, a bowl of water, and a clean cutting board or flat surface ready. This process moves quickly once the rice paper is wet.
- Wet the Rice Paper: Take one sheet of rice paper and briefly dip it into the bowl of water. You just want to wet it completely—about 2-3 seconds. It will still be firm; it continues to soften on the board. Place it on your work surface. Immediately wet a second sheet and place it directly on top of the first. The two sheets will stick together and soften into a pliable “dough” as you work.
- Add the Filling: Spoon 1-2 tablespoons of your chosen filling onto the center of the stacked rice paper sheets. Spread it out slightly into a rectangle, leaving a good 1-inch border around all edges.
- Seal the Pop Tart: Wet a third rice paper sheet and place it on top of the filling. Gently press down around the filling to push out any air pockets. Now, wet your fourth and final sheet and place it on top. You now have a four-layer stack. Carefully fold the edges over the filling, pressing firmly to create a sealed rectangular parcel. You can use a little water on your fingers to help seal the edges if needed.
- Pan-Fry to Perfection: Heat your neutral oil in a non-stick skillet over medium heat. Once the oil is shimmering, carefully place your pop tart into the pan. Cook for 2-3 minutes per side, pressing down gently with your spatula, until the entire pastry is puffed, golden brown, and incredibly crispy.
- Cool and Glaze: Transfer the cooked pop tart to a wire rack or plate. Allow it to cool for a few minutes—the filling will be molten hot! If desired, whisk together the powdered sugar and milk to create a simple glaze. Drizzle it over the cooled pop tart and add sprinkles immediately. Enjoy warm!
What to Serve With Rice Paper Pop Tarts
These pop tarts are a star on their own, but they can easily be part of a larger brunch or dessert spread! For a fantastic weekend brunch, pair them with a fresh fruit salad to add a light, healthy element and a creamy Vanilla Bean Smoothie to balance the crispy texture. If you’re serving them as a fun dessert, a scoop of vanilla ice cream on the side turns them into a next-level à la mode treat. A cold glass of milk or a hot coffee is always the classic and perfect beverage pairing for this sweet, crispy pastry.
Top Tips for Perfecting Your Creation
- Don’t Over-Soak: The biggest mistake is leaving the rice paper in water for too long. A quick dip is all you need. It will continue to absorb water and become more pliable on your board. If it gets too soft, it can tear easily.
- Seal Tightly: Really press those edges together well to create a strong seal. This prevents the filling from leaking out into your pan during cooking.
- Medium Heat is Key: Don’t be tempted to crank the heat to high. You want the layers of the rice paper to have time to puff and crisp up without burning. Medium heat gives you the perfect golden-brown color.
- Get Creative with Fillings: The possibilities are endless! Try apple pie filling, blueberry jam, or even a mix of cream cheese and berries. For a savory version, try shredded cheese and ham!
Storing and Reheating Tips
Storing: These are always best enjoyed immediately after cooking while they are still crispy. However, you can store any leftovers (lucky you!) in an airtight container at room temperature for up to 24 hours.
Reheating: To recrisp them, the air fryer is your best friend. Reheat at 350°F (175°C) for 2-3 minutes until warm and crispy again. You can also use a toaster oven or a conventional oven preheated to 350°F (175°C) for about 5-7 minutes. We do not recommend reheating in the microwave, as it will make the pastry soft and chewy instead of crisp.
I hope you absolutely love making and eating these incredible Rice Paper Pop Tarts as much as I do. They are a true testament to the fact that the most delicious things in life can also be the simplest. Don’t forget to rate the recipe below and tag me in your creations on social media—I love seeing what you make!
For More Recipes Visit: www.waniarecipes.com