
Introduction
There’s something about a perfect Chicken Pot Pie that feels like a warm hug. It’s the ultimate comfort food: a creamy, savory filling packed with tender chicken and vegetables, all nestled under a golden, flaky crust. But have you ever made one at home, only to find the flavor a bit… flat? You’re not alone. The difference between a good pot pie and a great one often comes down to a few simple secrets. Interestingly, the modern chicken pot pie has roots in medieval times, where pies acted as practical containers for preserving meats. Today, it’s all about the cozy, homestyle flavor. This dish is a total crowd-pleaser, surprisingly simple to pull together, and a fantastic way to get a wholesome, delicious meal on the table for the whole family. If you love the comforting vibes of our Easy Chicken Noodle Soup but crave something with a satisfying, bakeable crust, this recipe is your next kitchen adventure. Let’s unlock those secrets and bake a pie that’s bursting with the best flavor imaginable!
Table of Contents
What is Chicken Pot Pie?
Let’s address the adorable, slightly obvious elephant in the room: why is it called Chicken Pot Pie? Is it because it’s baked in a pot? (Often, yes!). Or because the filling is so good it makes you think of a pot of gold? (We like that theory). Really, the name is a charmingly direct description: a pie filled with chicken and vegetables, traditionally baked in a deep dish. It’s the kind of humble, no-fuss name that promises delicious results without any pretension. They say the way to a person’s heart is through their stomach, and a homemade Chicken Pot Pie is a direct, flaky-crusted route there. It’s a classic for a reason. Ready to win some hearts and warm some bellies? Let’s get to the secrets that make it magical.
Why You’ll Love This Chicken Pot Pie:
First and foremost, the flavor is unbeatable. By mastering a few key techniques, you’ll create a rich, deeply savory filling that’s miles away from any frozen version. Second, making it at home is surprisingly cost-effective and rewarding. You control the quality of every ingredient, from the chicken to the vegetables, and can easily customize it to your taste. Finally, the flaky, buttery crust is the crowning glory that brings it all together in the most delightful, textural way. It’s a complete, satisfying meal in one dish. If you enjoy customizing your comfort food, you’ll love our recipe for Creamy Chicken and Biscuits, which plays in a similar delicious sandbox. Trust me, once you taste the homemade difference, you’ll be hooked. Grab your rolling pin and let’s bake!
How to Make Chicken Pot Pie:
● Quick Overview
This Chicken Pot Pie recipe is all about building layers of flavor for a creamy, hearty filling encased in the perfect golden crust. It’s a straightforward process of sautéing, simmering, and baking that yields incredibly satisfying results. The active preparation time is about 30 minutes, with an additional 35-40 minutes for baking.
● Key Ingredients for Chicken Pot Pie
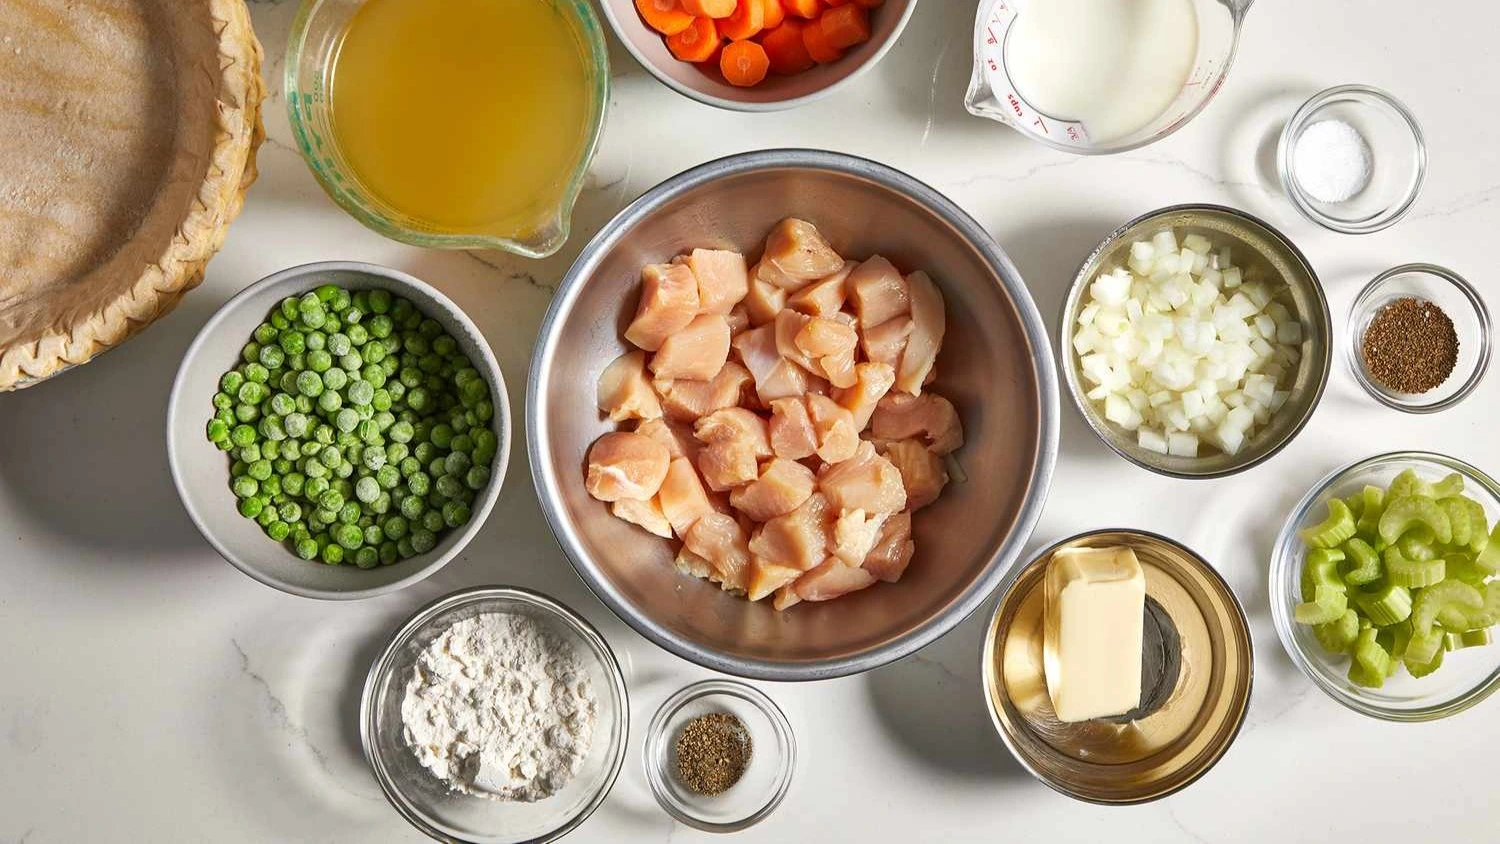
For the Filling:
- 1 lb boneless, skinless chicken breasts or thighs, cut into 1-inch pieces
- 3 tablespoons unsalted butter
- 1 medium yellow onion, diced
- 2 medium carrots, diced
- 2 celery stalks, diced
- 1/3 cup all-purpose flour
- 2 1/2 cups low-sodium chicken broth
- 1/2 cup whole milk or half-and-half
- 1 cup frozen peas
- 1 teaspoon dried thyme (or 1 tbsp fresh)
- Salt and freshly ground black pepper to taste
For the Crust:
- 1 package (2 sheets) of store-bought pie crust, thawed if frozen, or your favorite homemade double-crust recipe.
● Step-by-Step Instructions:
1. Prepare the Base:
Preheat your oven to 400°F (200°C). In a large, deep skillet or Dutch oven, melt the butter over medium heat. Add the diced onion, carrots, and celery. Cook, stirring occasionally, until the vegetables begin to soften, about 5-7 minutes.
2. Cook the Chicken:
Add the cubed chicken to the skillet. Season with salt, pepper, and the thyme. Cook until the chicken is no longer pink on the outside, about 5 minutes.
3. Create the Roux:
Sprinkle the flour evenly over the chicken and vegetable mixture. Stir constantly for about 2 minutes. This cooks the raw flour taste out and forms the base for your creamy sauce.
4. Build the Sauce:
Slowly pour in the chicken broth and milk, stirring constantly to avoid lumps. Bring the mixture to a simmer. It will begin to thicken significantly. Continue to simmer for 5-7 minutes until it reaches a thick, gravy-like consistency. Stir in the frozen peas. Taste and adjust seasoning with more salt and pepper as needed.
5. Assemble the Pie:
Pour the hot filling into a 9-inch deep-dish pie plate. Carefully place one sheet of pie crust over the top. Trim any excess overhang and crimp the edges to seal. Cut 4-5 small slits in the center of the crust to allow steam to escape. For a golden finish, you can brush the top with an egg wash (1 egg beaten with 1 tbsp water).
6. Bake to Perfection:
Place the pie on a baking sheet (to catch any drips) and bake for 35-40 minutes, or until the crust is golden brown and the filling is bubbling through the vents.
7. Rest and Serve:
Remove from the oven and let the pot pie rest for 10-15 minutes before serving. This allows the filling to set slightly, making it easier to slice.
What to Serve Chicken Pot Pie With:
While this pie is a complete meal, a simple, crisp green salad with a tangy vinaigrette cuts through the richness perfectly. For a heartier spread, roasted garlic mashed potatoes or buttery dinner rolls are fantastic for soaking up every last bit of sauce. A glass of dry white wine or sparkling apple cider makes for a lovely beverage pairing.
Top Tips for Perfecting Chicken Pot Pie:
- The Roux is Key: Don’t rush the flour cook-off in Step 3. Those two minutes of stirring ensure your sauce won’t taste pasty.
- Customize Your Veggies: Swap peas for green beans or corn. Add diced potatoes for extra heartiness (parboil them first).
- Boost the Flavor Secret: Use a high-quality, low-sodium chicken broth. For an extra flavor punch, add a splash of white wine or a spoonful of chicken bouillon paste when adding the liquids.
- Prevent a Soggy Bottom: Ensure your filling is very hot and bubbly when you add the top crust. The immediate heat helps the bottom layer of crust cook properly.
- The Rest is Non-Negotiable: Letting the pie rest after baking is crucial. It gives the thick filling time to set, so you get clean slices instead of a soupy plate.
Storing and Reheating Tips:
Storing: Allow leftover pot pie to cool completely. Cover tightly with plastic wrap or aluminum foil, or transfer slices to an airtight container. It will keep in the refrigerator for up to 3-4 days.
Reheating: For best results, reheat individual slices in a 350°F (175°C) oven for 15-20 minutes, or until heated through. You can also use the microwave (though the crust will soften), heating in 60-second intervals until warm. To freeze, assemble the pie but do not bake. Wrap the unbaked pie tightly in a few layers of plastic wrap and foil. Freeze for up to 2 months. Bake from frozen, adding 15-20 extra minutes to the baking time, until golden and bubbling.
For More Recipes Visit: www.waniarecipes.com