
Introduction
There’s nothing quite like the aroma of freshly baked bread filling your home—especially when that bread is a gorgeous, golden loaf of Challah. Soft, slightly sweet, and braided into a beautiful work of edible art, Challah Bread is often seen as a weekend project. But what if I told you that you can have that iconic, pillowy loaf on your table without spending all day in the kitchen? This beloved Jewish egg bread is special not just for its rich tradition and symbolic meaning, but for its incredible flavor and texture that makes every slice a treat. This recipe strips away any intimidation, focusing on a straightforward method that delivers perfect results. It’s as family-friendly as my One-Hour Dinner Rolls, but with a celebratory twist that makes any meal feel special. So, roll up your sleeves—let’s make baking this beautiful bread as joyful as eating it.
Table of Contents
What is Challah Bread?
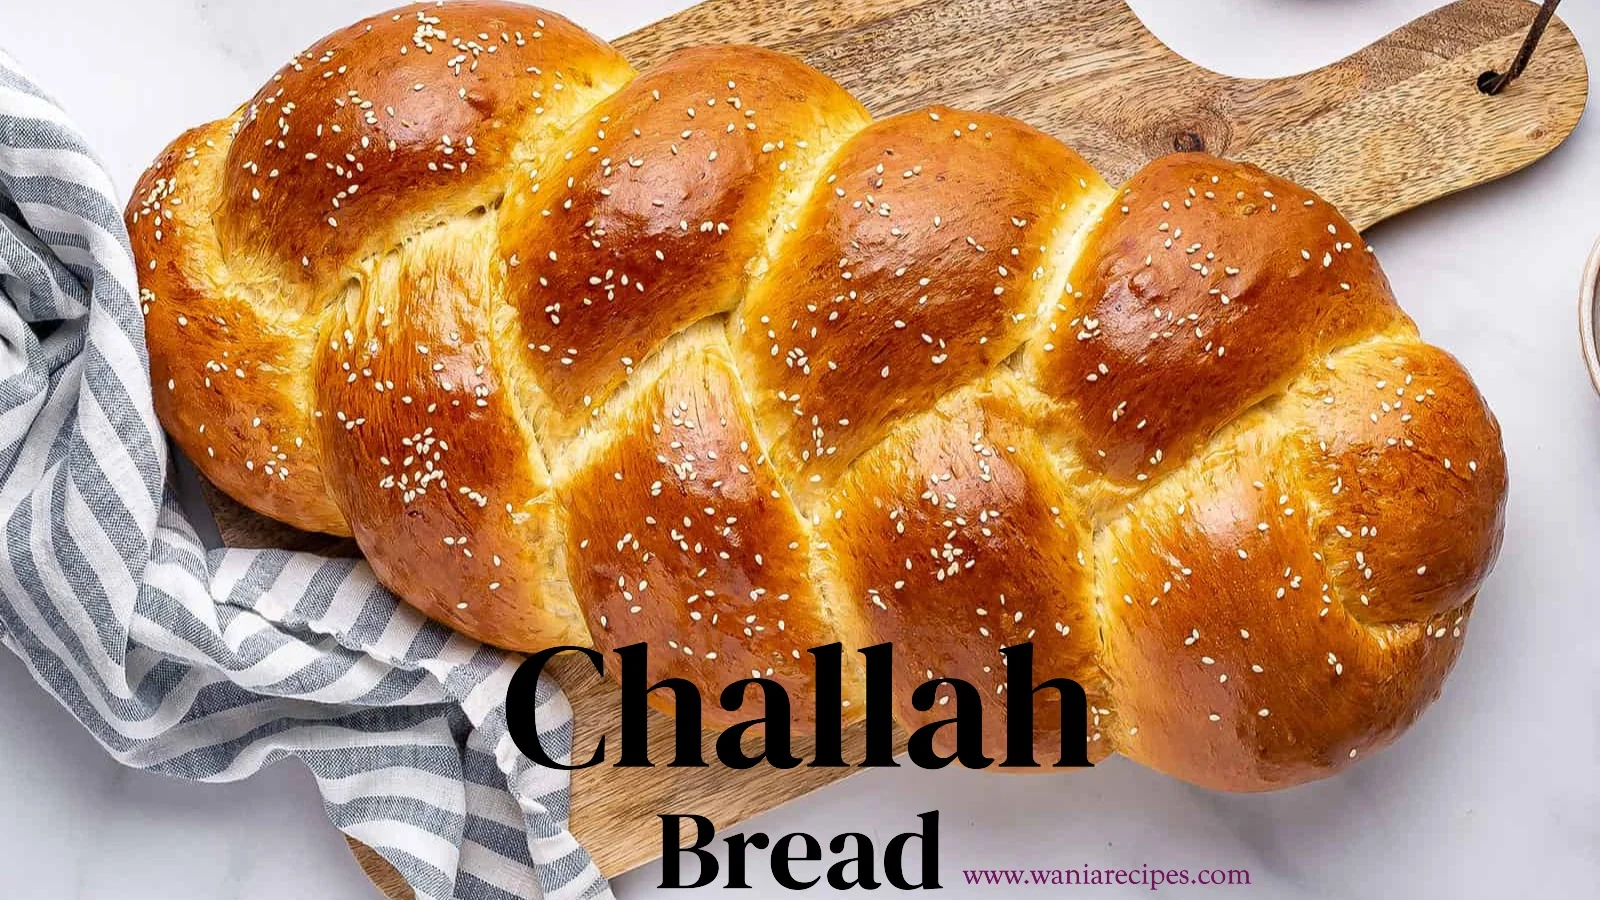
Ever wondered about the beautifully braided loaf that looks too good to eat? (But let’s be honest, we always eat it!). That’s Challah Bread. The name “Challah” actually refers to the small portion of dough set aside as an offering in Jewish tradition, a practice that gives this bread its deep cultural significance. It’s more than just a pretty face; it’s a bread rich with eggs and a touch of honey, resulting in a tender crumb and a slightly sweet flavor that’s utterly irresistible. They do say “the way to a person’s heart is through their stomach,” and presenting a homemade braided Challah is a surefire path to success. So, why not see what all the fuss is about? Let’s get braiding!
Why You’ll Love This Challah Bread
You will absolutely adore this recipe for three simple reasons. First, the main event: this Challah Bread is incredibly soft, fluffy, and has that perfect hint of sweetness. The golden, glossy crust gives way to a tender, rich interior that’s perfect for tearing and sharing straight from the oven. Second, making it at home is a massive cost-saver and quality booster compared to bakery versions. With just a few pantry staples, you create something far more fresh and fulfilling. Finally, its versatility is a dream. While magnificent on its own, it’s the ultimate base for amazing French toast, bread pudding, or simply slathered with good butter and jam. If you enjoy the richness of Brioche, you’ll love this egg-based dough that’s a bit less fussy. Ready to fill your kitchen with the best smell ever? Let’s bake!
How to Make Challah Bread
Quick Overview
This recipe is all about simplicity and satisfaction. We’ll make a straightforward, no-knead-required dough that’s easy to handle, let it rise until puffy, then shape it into a simple braid. The standout element is the dazzling golden crust achieved with a simple egg wash. From start to finish, including proofing time, you’re looking at about 3 hours, with most of that being hands-off time while the dough works its magic.
Key Ingredients for Challah Bread
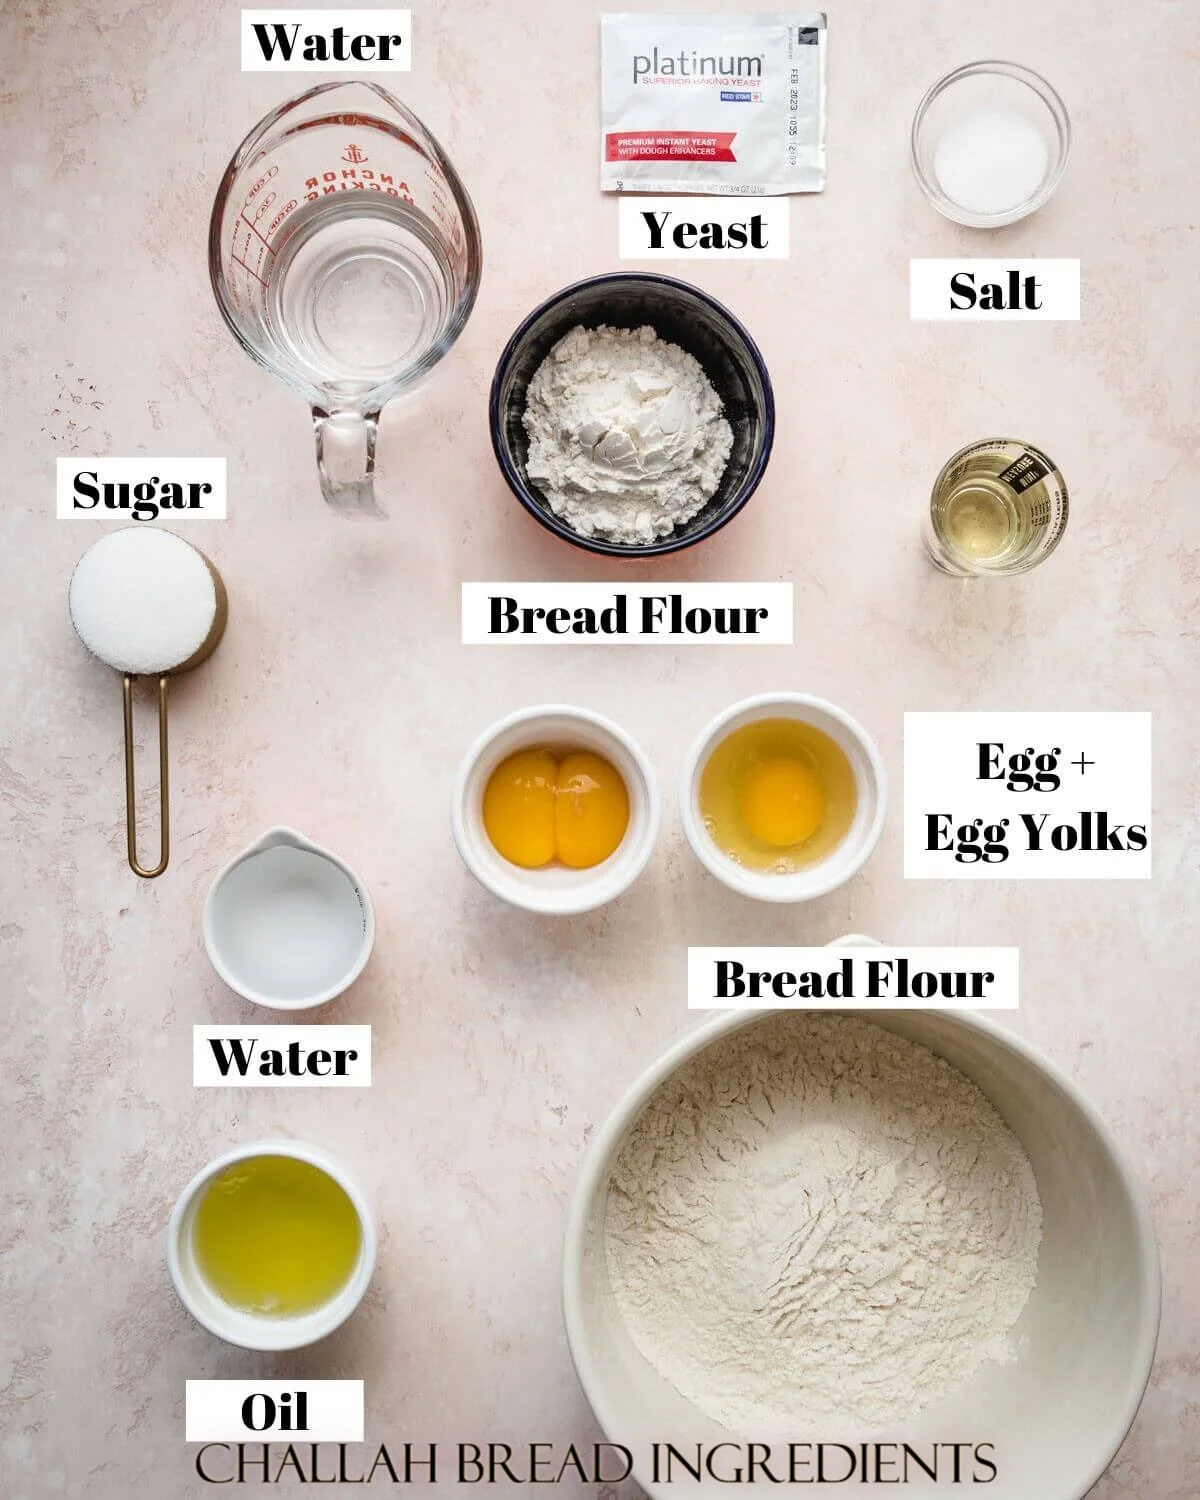
- 4 cups (500g) all-purpose flour, plus more for dusting
- 1 cup (240ml) warm water (about 110°F)
- 2 ¼ teaspoons (one 7g packet) active dry yeast
- ¼ cup (50g) granulated sugar
- ⅓ cup (80ml) neutral oil (like avocado or canola), plus more for the bowl
- 2 large eggs, plus 1 extra for the egg wash
- 1 ½ teaspoons salt
- 1 tablespoon honey (optional, for a touch more sweetness)
- Poppy or sesame seeds for topping (optional)
Step-by-Step Instructions
- Activate the Yeast: In the bowl of a stand mixer or a large mixing bowl, combine the warm water, yeast, and a pinch of the sugar. Give it a gentle stir and let it sit for 5-10 minutes until it becomes frothy and bubbly. This proves your yeast is alive and ready to work.
- Make the Dough: To the yeasty water, add the remaining sugar, ⅓ cup of oil, 2 eggs, honey (if using), and salt. Whisk these wet ingredients together until well combined. Using the dough hook attachment on low speed (or a wooden spoon by hand), gradually add the flour, one cup at a time, until a shaggy dough forms.
- Knead the Dough: Increase the mixer speed to medium and knead for 5-7 minutes, until the dough is smooth, elastic, and pulls away from the sides of the bowl. If kneading by hand, turn the dough onto a floured surface and knead for 8-10 minutes until smooth. The dough should be soft and slightly tacky but not sticky.
- First Rise: Lightly oil a clean bowl. Place the dough ball in the bowl, turning it to coat in oil. Cover the bowl with a damp kitchen towel or plastic wrap. Let it rise in a warm, draft-free spot for 1.5 to 2 hours, or until it has doubled in size.
- Shape the Loaf: Punch down the risen dough to release air. Turn it out onto a lightly floured surface. Divide the dough into three equal pieces. Roll each piece into a long rope, about 16 inches long, with the middle slightly fatter than the ends. Pinch the three ropes together at the top and braid them tightly. Pinch the ends together and tuck them under for a neat finish.
- Second Rise: Carefully transfer your braid to a parchment-lined baking sheet. Cover loosely with the towel and let it rise again for 45-60 minutes, until puffy.
- Bake: Preheat your oven to 375°F (190°C). Whisk the remaining egg with a teaspoon of water to make an egg wash. Gently brush it all over the risen loaf, getting into the crevices of the braid. Sprinkle with seeds if desired. Bake for 25-30 minutes, rotating the pan halfway through, until the bread is deep golden brown and sounds hollow when tapped on the bottom. Let cool on a wire rack for at least 30 minutes before slicing.
What to Serve Challah Bread With
Challah is a magnificent all-purpose bread. Serve it warm alongside a cozy chicken soup or a hearty beef stew for dipping. It makes exceptional sandwiches, especially with roasted turkey or chicken salad. For breakfast or brunch, use day-old challah to make the most decadent French toast or a luxurious bread pudding. A simple spread of good butter and flaky sea salt is also a perfect pairing.
Top Tips for Perfecting Challah Bread
- Don’t Rush the Rise: The key to a soft, airy texture is allowing the dough to fully double in size during both rises. A warm environment (like an oven with the light on) helps.
- Egg Wash is Key: For that signature glossy, golden crust, don’t skip the egg wash. Apply it gently but thoroughly just before baking.
- Braiding Basics: If a 3-strand braid feels tricky, start with a simple twist or a 2-strand loaf. You can also divide the dough into 6 pieces to make two smaller loaves.
- Test for Doneness: The hollow sound when tapping the bottom is the best indicator your bread is fully baked. An internal temperature of 190°F (88°C) confirms it.
Storing and Reheating Tips
Store your completely cooled Challah Bread in a large plastic bag or wrapped tightly in foil at room temperature for up to 3 days. To freeze, wrap the whole loaf or individual slices tightly in plastic wrap and then in foil; it will keep for up to 3 months. Thaw at room temperature. To reheat, wrap a slice or the whole loaf in foil and warm in a 350°F (175°C) oven for 5-10 minutes until warm and crisp. For a single slice, toasting works perfectly to revive its texture.
For More Recipes Visit : www.waniarecipes.com