

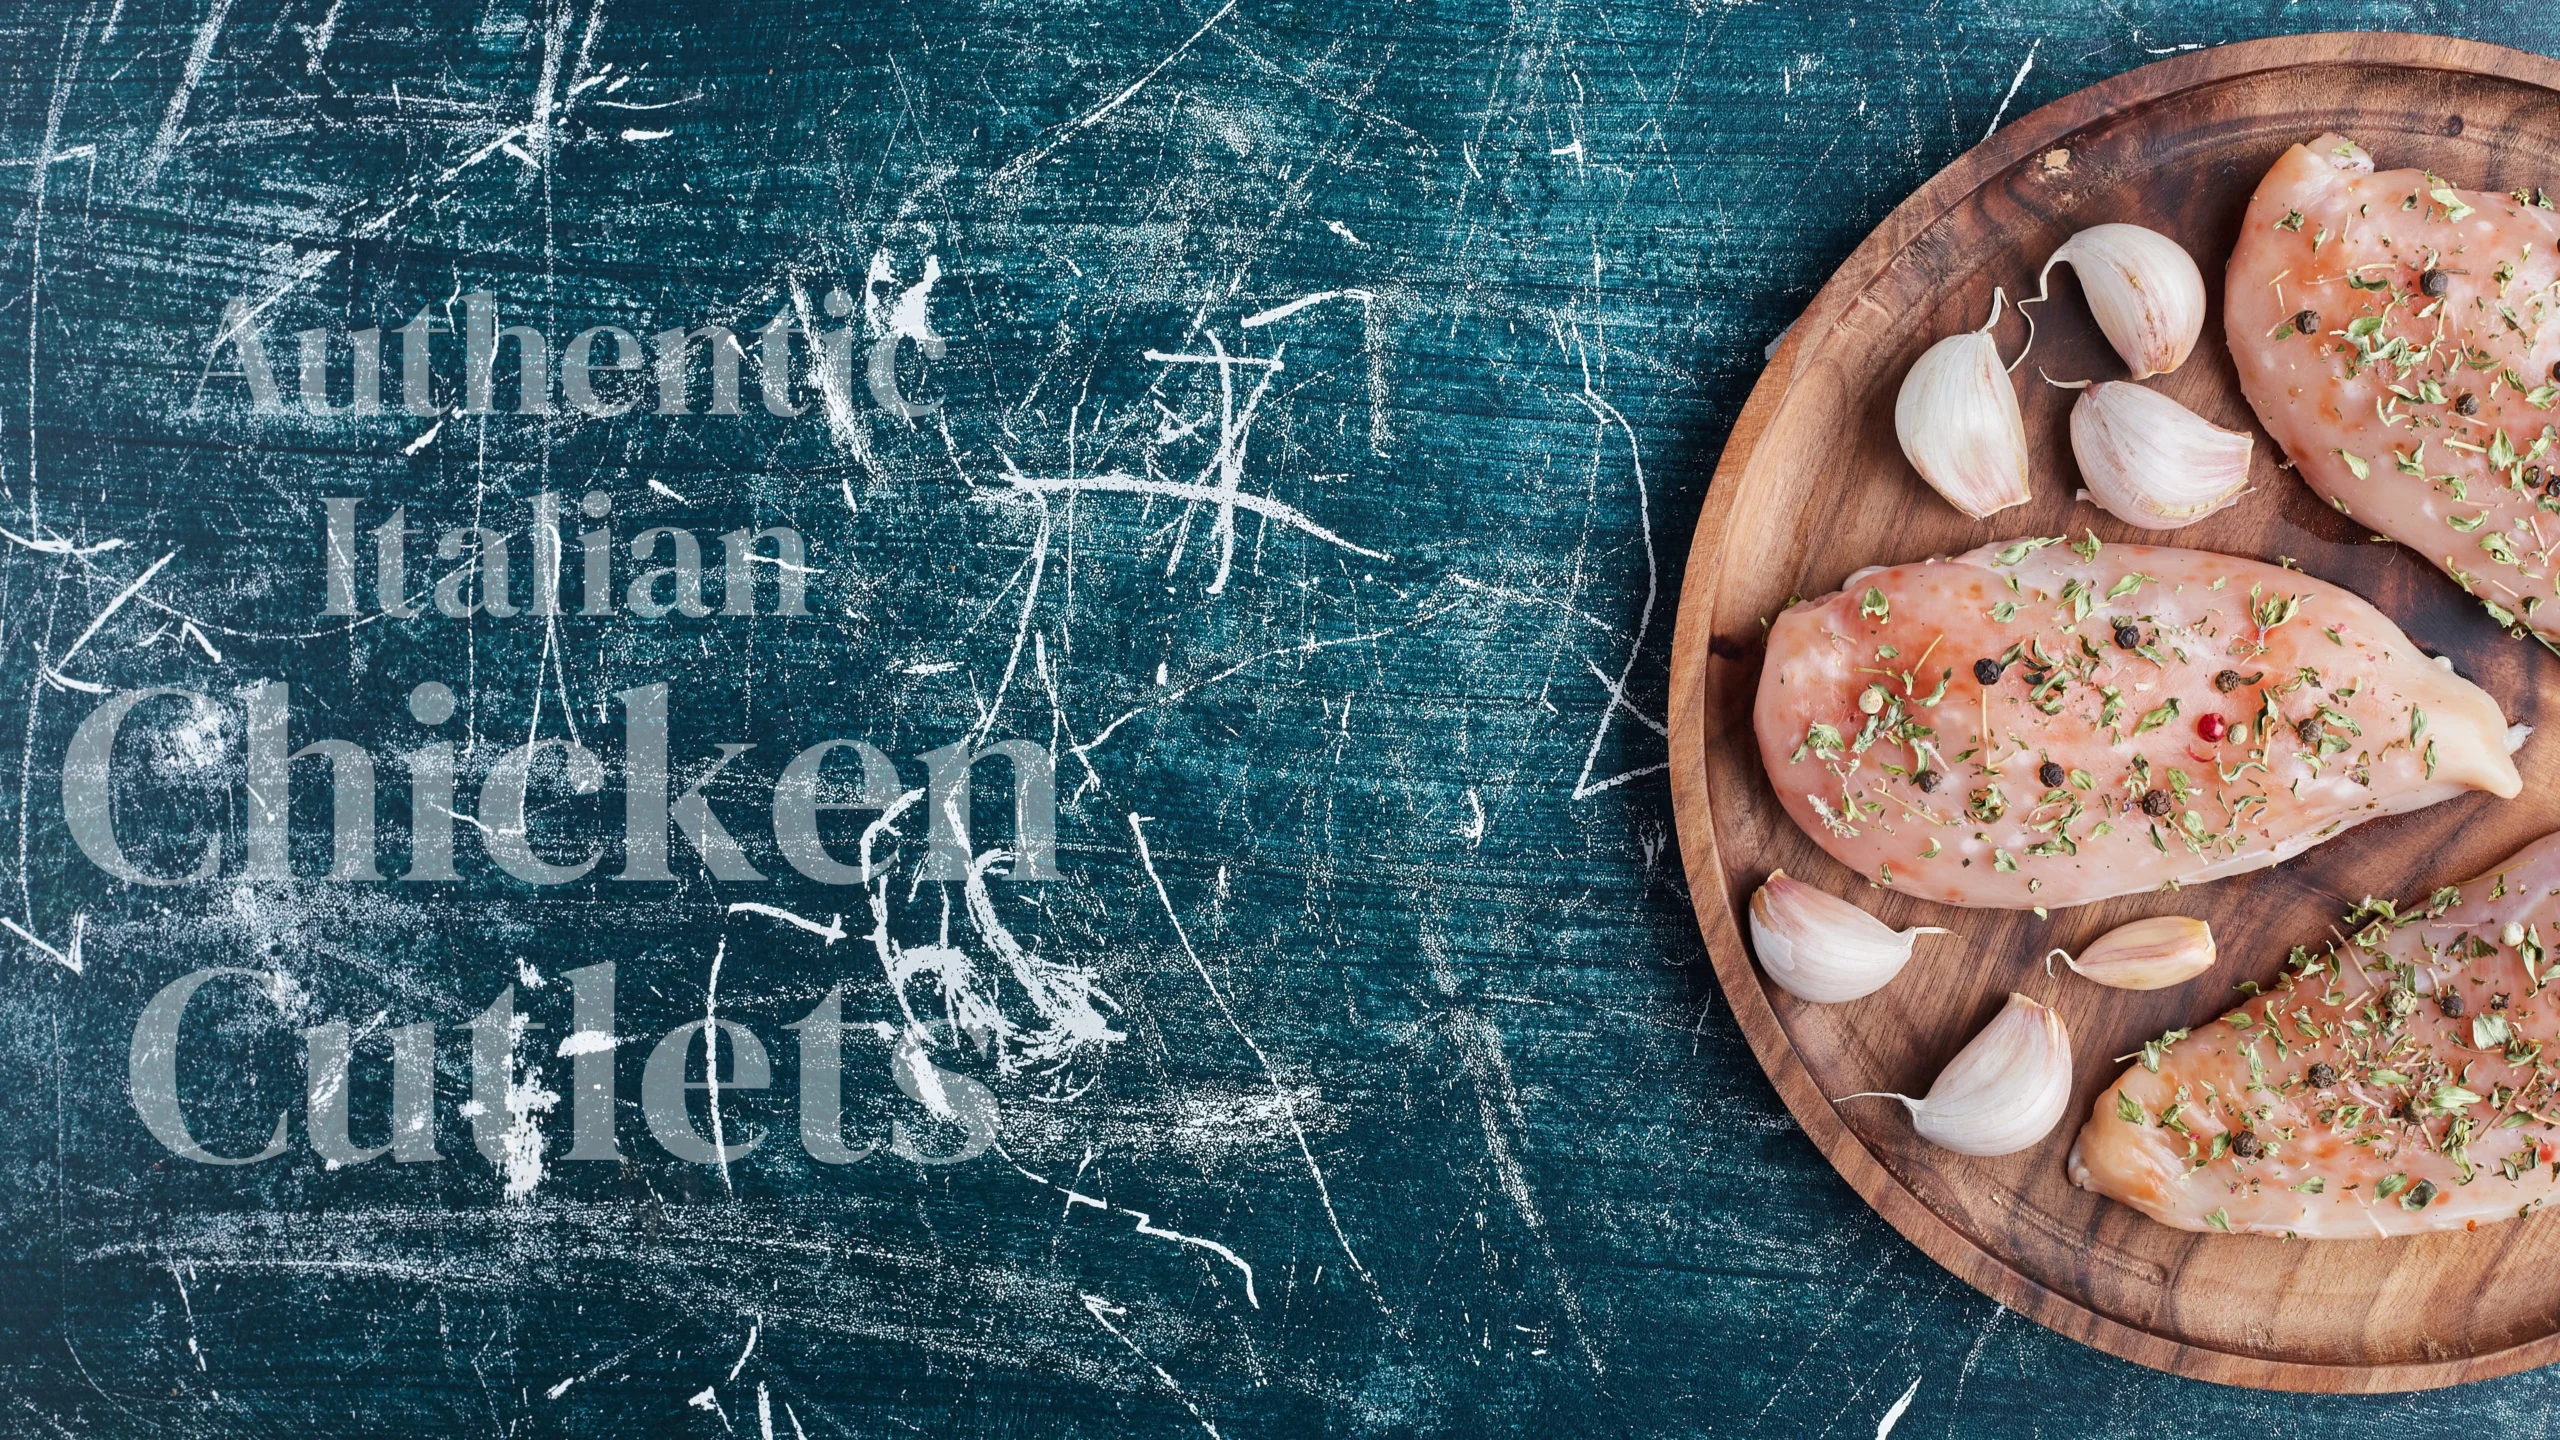
There’s a special kind of magic in a recipe that is both impressively delicious and deceptively simple. You know the one—it’s the dish that makes everyone at the table think you spent hours in the kitchen, when in reality, you whipped it up with ease and a confident smile. That’s the magic of Authentic Italian Chicken Cutlets. Forget dry, boring chicken. We’re talking about golden-brown, outrageously crispy cutlets that are incredibly juicy on the inside, flavored with the simple, soulful essence of Italian home cooking. The secret isn’t in a long list of fancy ingredients, but in a few key techniques passed down through generations. In fact, the method for these cutlets is a close cousin to our popular Chicken Piccata, but instead of a lemony sauce, we focus all the attention on achieving that perfect, shatteringly crisp crust. It’s a family-friendly weeknight hero that’s also elegant enough for company. Ready to discover why this is quite possibly the best chicken recipe you’ll ever master? Let’s get cooking!
Table of Contents
What is Authentic Italian Chicken Cutlets?
So, what exactly are we making? You might be wondering, “Is this just a fancy name for a basic breaded chicken?” Oh, let me tell you, it is so much more! In Italy, these are often known as cotoletta di pollo, a staple in homes across the country. The name itself promises a specific experience: thin, tender chicken encased in a glorious, golden crust. Think of it as the ultimate comfort food that also makes you feel a little fancy. There’s an old saying that “the way to a man’s heart is through his stomach,” but honestly, this recipe is the way to anyone’s heart—your family’s, your friends’, even your own after a long day! It’s the simple, satisfying dish that turns an ordinary Tuesday into a mini-celebration. So, are you ready to bring a taste of an Italian kitchen right into your own? Let’s see what makes this recipe a guaranteed winner.
Why You’ll Love This Authentic Italian Chicken Cutlets
Once you try this method, you’ll never look at breaded chicken the same way again. Here are three reasons why this recipe will become an instant classic in your home:
- The Perfect Crispy-Juicy Combo: The number one reason this recipe reigns supreme is its flawless texture. We achieve a shatteringly crisp, golden-brown crust that audibly cracks when you cut into it, revealing a perfectly moist and tender chicken breast inside. This isn’t a soggy or greasy breading; it’s a light, flavorful armor that seals in all the juices. If you love that texture, you’ll also adore our classic Eggplant Parmigiana, which uses a similar breading technique for a vegetarian delight.
- Incredibly Wallet-Friendly: Let’s be real, eating out is expensive, especially when you’re craving a quality Italian meal. This recipe is a brilliant cost-saver. With just a few simple, affordable ingredients—primarily chicken breast, breadcrumbs, cheese, and eggs—you can create a restaurant-quality dish for a fraction of the price. It’s a satisfying meal that feeds a family without straining your grocery budget.
- Unbeatable Flavor and Versatility: The magic is in the seasoning. We don’t just use plain breadcrumbs. We whip up a mixture with grated Parmesan cheese, fresh parsley, and garlic powder, creating a crust that is bursting with flavor in every single bite. Plus, these cutlets are the ultimate canvas. Enjoy them plain, top them with a bright tomato sauce and melted mozzarella for a Chicken Parmigiana, or slice them over a fresh salad. The possibilities are endless! Ready to experience this perfection for yourself?
How to Make Authentic Italian Chicken Cutlets
Quick Overview
This recipe is your ticket to a quick, satisfying, and downright delicious dinner. The process is straightforward—pounding, dredging, and pan-frying—but the result is pure magic. The standout element is the incredibly flavorful and crispy crust that stays crunchy long after cooking. From start to finish, you can have this iconic dish on the table in under 30 minutes!
Key Ingredients for Authentic Italian Chicken Cutlets
- 2 large boneless, skinless chicken breasts (about 1.5 lbs)
- 1 cup all-purpose flour
- 1 teaspoon kosher salt (plus more for seasoning)
- ½ teaspoon black pepper
- 2 large eggs
- 1 cup Italian-seasoned breadcrumbs
- ½ cup freshly grated Parmesan cheese
- ¼ cup fresh parsley, finely chopped
- Olive oil and canola oil for frying (about ½ cup total)
- Lemon wedges for serving
Step-by-Step Instructions
- Prepare the Chicken: Place the chicken breasts on a sturdy cutting board. Using a sharp knife, carefully slice each breast in half horizontally to create two thinner cutlets. Place one cutlet between two pieces of plastic wrap or in a large zip-top bag. Using the flat side of a meat mallet, a rolling pin, or even a heavy skillet, gently pound the chicken until it is an even ¼-inch thickness. Repeat with all cutlets. Pat them completely dry with a paper towel and season both sides generously with salt and pepper.
- Set Up Your Dredging Station: Get three shallow bowls or plates. In the first bowl, combine the flour with a pinch of salt and pepper. In the second bowl, beat the two eggs until smooth. In the third bowl, mix the breadcrumbs, grated Parmesan cheese, and chopped parsley together thoroughly.
- Dredge the Cutlets: Working with one cutlet at a time, coat it in the flour mixture, shaking off any excess. Next, dip it completely into the beaten egg, allowing the excess to drip off. Finally, press the cutlet firmly into the breadcrumb mixture, ensuring it is coated on all sides. Place the breaded cutlet on a clean plate or wire rack and repeat with the remaining chicken.
- Pan-Fry to Perfection: In a large skillet (cast iron is ideal), heat about ¼ inch of a 50/50 mix of olive oil and canola oil over medium-high heat. To test if the oil is hot enough, sprinkle a tiny breadcrumb in it; it should sizzle immediately. Carefully add 2-3 cutlets to the hot oil, without crowding the pan. Fry for 3-4 minutes per side, until the crust is a deep golden brown and the chicken is cooked through.
- Drain and Serve: Transfer the cooked Authentic Italian Chicken Cutlets to a wire rack set over a baking sheet (this keeps them crispy). Avoid using paper towels, as they can trap steam and make the bottom soggy. Let them rest for a couple of minutes before serving immediately with lemon wedges for squeezing over the top.
What to Serve Authentic Italian Chicken Cutlets With
These versatile cutlets pair beautifully with so many sides! For a classic Italian feast, serve them with a side of Spaghetti aglio e olio or a fresh Arugula Salad with shaved Parmesan and a lemon vinaigrette. For a heartier meal, creamy Garlic Mashed Potatoes or Roasted Rosemary Potatoes are fantastic. To keep it light, simple Steamed Broccoli or grilled asparagus are perfect for soaking up any delicious flavors. Don’t forget a glass of crisp Pinot Grigio or a light Sangiovese to complete the experience!
Top Tips for Perfecting Authentic Italian Chicken Cutlets
- Pound Evenly: This is the most crucial step for even cooking. An even thickness ensures the thin edges don’t burn before the thicker center is cooked through.
- Dry the Chicken: Patting the chicken dry before seasoning is key. A dry surface helps the flour coating stick much better, preventing the breading from sliding off.
- The Oil Temperature is Key: If the oil isn’t hot enough, the cutlets will absorb oil and become greasy. If it’s too hot, the crust will burn before the chicken cooks. Maintain a steady medium-high heat.
- Don’t Crowd the Pan: Frying too many cutlets at once drops the oil temperature dramatically. Cook in batches for the crispiest results.
- Freshly Grated Parmesan: Avoid the pre-shredded stuff from a bag, which often contains anti-caking agents and doesn’t melt or incorporate as well. Freshly grated Parmesan has far superior flavor and texture.
Storing and Reheating Tips
To store leftovers, place cooled cutlets in an airtight container in the refrigerator. They will keep for up to 3 days. For longer storage, you can freeze them. Arrange the cooled cutlets in a single layer on a baking sheet to freeze solid, then transfer them to a freezer-safe bag for up to 2 months.
Reheating is best done in the oven to restore crispiness. Preheat your oven to 375°F (190°C). Place the cutlets on a wire rack set over a baking sheet and bake for 10-15 minutes, or until heated through and crispy. If reheating from frozen, no need to thaw; just add a few extra minutes to the baking time. Avoid using the microwave, as it will make the crust soft and soggy.
For More Recipes Visit: www.waniarecipes.com