
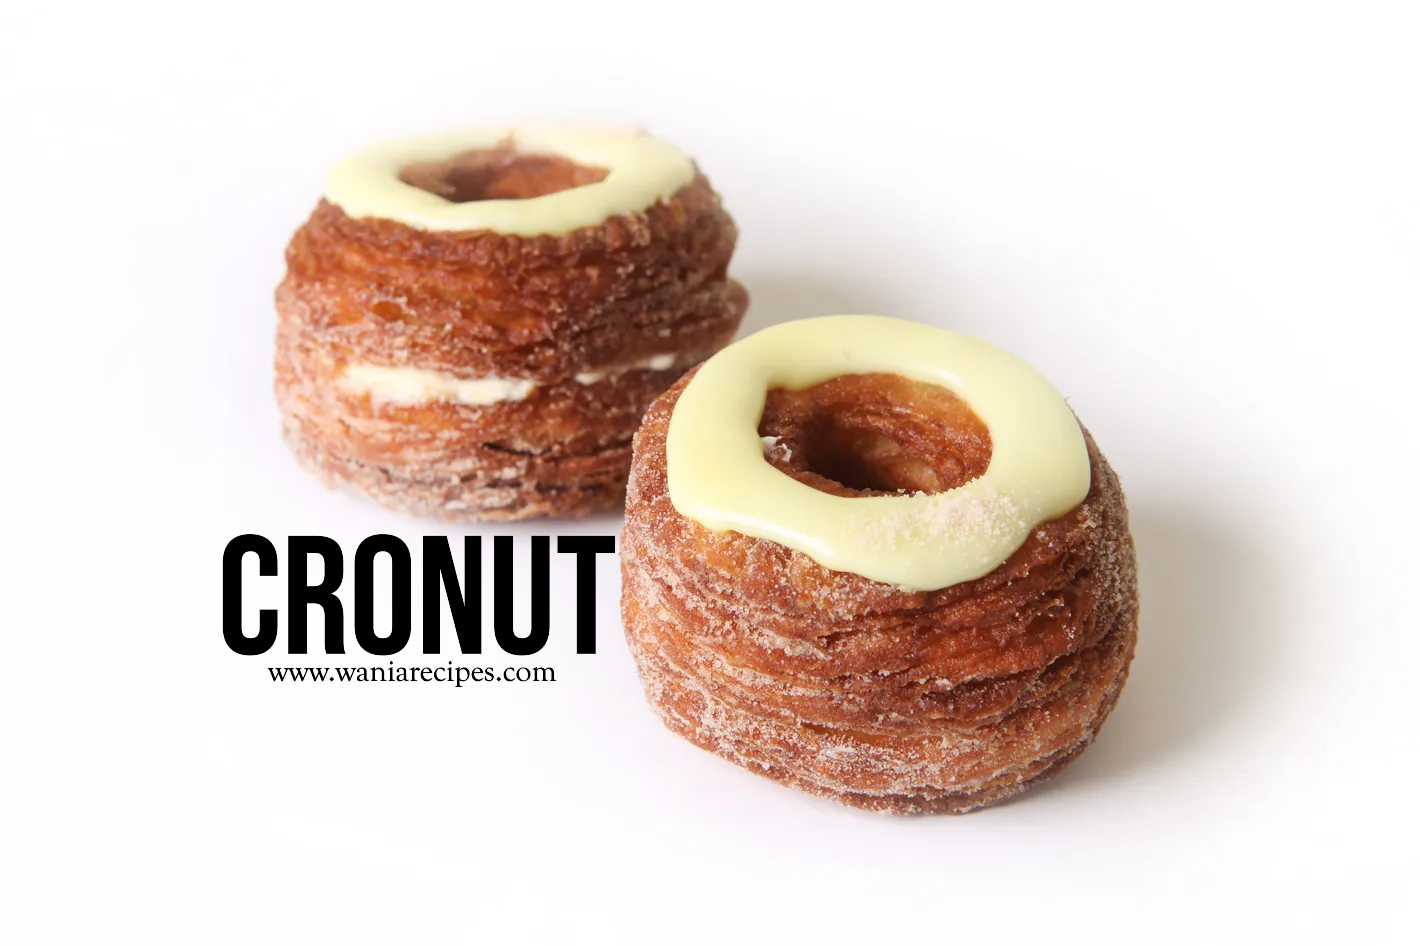
Have you ever bitten into something so extraordinary that you immediately understood what all the fuss was about? That’s exactly how I felt the first time I tried a cronut—that magical hybrid pastry that took the world by storm back in 2013 and has remained a beloved treat ever since. Imagine the flakiest, most buttery French croissant, shaped into a perfect ring, fried to golden perfection, and filled with silky cream before being topped with a delicate glaze. It’s crispy, it’s creamy, it’s utterly irresistible.
The cronut isn’t just a pastry; it’s a cultural phenomenon. When Dominique Ansel introduced this creation at his New York bakery, people lined up for hours just for a chance to taste one . The demand was so intense that the pastries were selling for up to $40 each on the secondary market . But here’s the exciting part—you don’t need to wait in those legendary lines or travel to New York to experience this delight. With a little patience and this recipe, you can create homemade cronuts that rival the original.
What makes this recipe special is its approachability. While the process takes time (mostly hands-off waiting), the techniques are straightforward enough for home bakers who love a rewarding project. The result? A dozen glorious cronuts that will make you the hero of your next brunch gathering. If you enjoyed our classic French croissant recipe, you’re going to absolutely love this indulgent twist on it. So roll up your sleeves, clear your schedule, and let’s create something magical together!
Table of Contents
What Is Cronut?
Have you ever wondered what happens when a flaky French croissant falls madly in love with a classic American doughnut? Well, the result is the glorious cronut, and honestly, it’s the kind of love story we can all get behind . The name itself is a clever mashup—”croissant” meets “doughnut”—coined by French pastry chef Dominique Ansel when he invented this hybrid back in 2013 . He actually spent about two months testing over ten different recipes before landing on the perfect version .
The funny thing is, Ansel wasn’t trying to start a worldwide craze—he just wanted something special for Mother’s Day at his bakery . Little did he know that a blogger’s photo would lead to 150 people lining up outside his door just two days later . As they say, the way to a person’s heart is through their stomach, and apparently, that applies to entire cities too! Ready to taste what all the excitement is about? Let’s get baking!
Why You’ll Love This Cronut
The Texture Experience: The first thing you’ll notice when you bite into a homemade cronut is that incredible contrast—the exterior shatters ever so slightly with a satisfying crunch, giving way to tender, buttery layers that practically dissolve on your tongue . Unlike regular doughnuts that can be uniformly dense, cronuts feature those gorgeous honeycombed layers you’d expect from a fine croissant, all achieved through the magical process of laminating dough .
The Cost-Saving Magic: Let’s talk honestly about value. Those original Dominique Ansel cronuts started at $5 each back in 2013, and that’s if you could get one . Today, boutique bakery versions can cost anywhere from $6 to $10 apiece. This recipe yields about 14 cronuts for roughly the same cost as buying two at a fancy bakery . Plus, you get the incredible satisfaction of saying “I made these myself!”
The Flavor Customization: While we’re making classic vanilla-glazed cronuts today, this recipe is your canvas. The basic dough accepts endless variations—dip them in chocolate ganache like our chocolate eclair recipe, fill them with lemon curd, or roll them in cinnamon sugar . The custard filling alone can be flavored with espresso, rose water, or orange zest.
How to Make Cronut
Quick Overview
This recipe is a labor of love, but don’t let the time commitment scare you. The active work is spread over several hours with long rests in between, making it perfect for a weekend project. You’ll spend about 2 hours and 30 minutes actively working, plus resting time, and the result is approximately 14 golden, flaky, cream-filled beauties . The process combines croissant-making techniques with doughnut frying—laminating butter into yeast dough, cutting rings, proofing, frying, filling, and glazing.
Key Ingredients for Cronut
For the Dough:
- 2½ cups all-purpose flour
- ¼ cup granulated sugar
- 1 tablespoon instant yeast
- 1 teaspoon salt
- ¾ cup unsalted butter, cold (for laminating)
- ½ cup whole milk, lukewarm
- 1 large egg
- 1 teaspoon vanilla extract
- ½ cup cold water
- 1 tablespoon lemon juice (optional, for added flakiness)
For the Custard Filling:
- 1 cup whole milk
- ½ cup heavy cream
- 4 large egg yolks
- ⅓ cup granulated sugar
- 2 tablespoons cornstarch
- 1 teaspoon vanilla extract
- Pinch of salt
For Frying and Glaze:
- Vegetable oil, for frying (about 6 cups)
- 1 cup powdered sugar
- 2-3 tablespoons whole milk
- ½ teaspoon vanilla extract
Step-by-Step Instructions
Step 1: Make the Dough
In a large bowl, combine flour, sugar, instant yeast, and salt. In a separate bowl, whisk together warm milk, egg, vanilla extract, and cold water. Add wet ingredients to dry and mix until a dough forms . Transfer to a floured surface and knead for about 5 minutes until smooth. Form into a ball, cover with a damp towel, and let rest for 30 minutes .
Step 2: Laminate the Dough
Roll the rested dough into a large rectangle about ¼-inch thick. Slice the cold butter thinly and arrange it over two-thirds of the dough. Fold the unbuttered third over the middle third, then fold the remaining third over the top—like folding a business letter . Wrap in plastic and refrigerate for at least 1 hour .
Step 3: Complete the Folds
Remove chilled dough and roll it into a rectangle again, about ½-inch thick. Fold in thirds once more and refrigerate another hour. Repeat this rolling, folding, and chilling process three times total, allowing at least an hour between each fold . This creates those beautiful flaky layers.
Step 4: Shape the Cronuts
After the final chill, roll the dough to about ⅜ to ½-inch thickness. Use a sharp 3-inch round cutter to cut circles, then a 1-inch cutter to remove the centers, creating doughnut shapes . Place on a parchment-lined baking sheet, cover lightly, and let rise in a warm place until doubled, about 1 hour .
Step 5: Fry to Golden Perfection
Heat oil in a deep pot or fryer to 350°F (175°C). Carefully lower cronuts into the oil, frying just 2 at a time to avoid crowding. Cook for 1½ to 2 minutes per side until golden brown . Drain on paper towels and cool completely on wire racks.
Step 6: Make the Custard
While cronuts cool, prepare the custard. Heat milk and cream in a saucepan until simmering. In a bowl, whisk egg yolks, sugar, cornstarch, and salt. Gradually pour hot milk into egg mixture, whisking constantly . Return to saucepan and cook over low heat until thickened, about 5-7 minutes. Stir in vanilla and cool completely .
Step 7: Fill and Glaze
Whisk powdered sugar, milk, and vanilla for the glaze until smooth . Fit a piping bag with a small tip, fill with custard, and inject into the sides of each cronut . Dip the tops in glaze and let set on a wire rack for about 15 minutes .
What to Serve Cronut With
These indulgent pastries pair beautifully with a variety of beverages and accompaniments. A strong cup of coffee or espresso cuts through the buttery richness perfectly—think cappuccino, latte, or a simple dark roast . For tea lovers, Earl Grey or chai latte complement the sweetness wonderfully. If you’re serving cronuts for brunch, consider fresh berries or a fruit salad on the side to add brightness and balance. For an extra-special treat, a small glass of dessert wine or Champagne elevates the experience to celebration status.
Top Tips for Perfecting Cronut
Temperature Management Is Everything: Keeping your butter cold while your dough stays pliable is the secret to distinct layers. If butter softens and squishes out during rolling, pop the dough back in the fridge for 15-20 minutes . Work quickly but patiently.
Oil Temperature Matters: Invest in a deep-fry thermometer and maintain that 350°F temperature religiously. Too cool, and cronuts absorb excess oil; too hot, and they burn before cooking through . The original bakery maintains oil temperature within ±2°F for perfect results .
Don’t Skip the Lemon Juice: That optional tablespoon of lemon juice in the dough isn’t just for flavor—it slightly strengthens the gluten structure and can contribute to flakier layers . Small details make a big difference!
Alternative Filling Options: If custard seems intimidating, pastry cream, lemon curd, jam, or even Nutella work wonderfully. You can also skip filling altogether and simply glaze—they’re still spectacular.
Storing and Reheating Tips
Fresh cronuts are absolutely at their peak on the day they’re made, ideally within hours of frying . However, if you have leftovers (unlikely, but possible!), here’s how to handle them. Store cronuts in an airtight container at room temperature for up to 2 days . Interestingly, while the original bakery packaging advises against refrigeration, many fans report that refrigerating overnight doesn’t ruin them .
For reheating, avoid the microwave if possible—it can make them soggy . Instead, warm cronuts in a 350°F oven for 3-5 minutes to restore some of that original flakiness . If you’ve refrigerated them, let them come to room temperature before reheating . For longer storage, you can freeze unfilled, unglazed cronuts for up to a month. Thaw overnight at room temperature, then warm briefly in the oven before filling and glazing fresh .
There you have it—your complete guide to making authentic cronuts at home! I’d love to hear how your cronut adventure turns out. Drop a comment below and share your experience, or tag us in your photos. Happy baking
For More Recipes Visit: waniarecipes.com