

Creamy, vibrant, and bursting with flavor, this isn’t your average weeknight dinner. Imagine all the comforting tastes of your favorite Italian antipasto platter—sun-dried tomatoes, fresh basil, and savory salami—rolled into a stunning, bite-sized package. This is Italian Sushi, the fusion trend that’s taking the internet by storm, and I’m here to show you just how effortless it can be. I first stumbled upon this idea during a frantic week when my family was begging for something fun and I had zero time. By swapping sushi rice for creamy, cheesy risotto, we created a meal that was not only a joy to make together but also a total showstopper. If you loved the easy, interactive fun of our Sheet Pan Fajita Night, you’re going to adore this recipe. It’s family-friendly, surprisingly simple, and proof that you don’t need hours to create something special and delicious. Let’s roll up our sleeves and make dinnertime an adventure!
Table of Contents
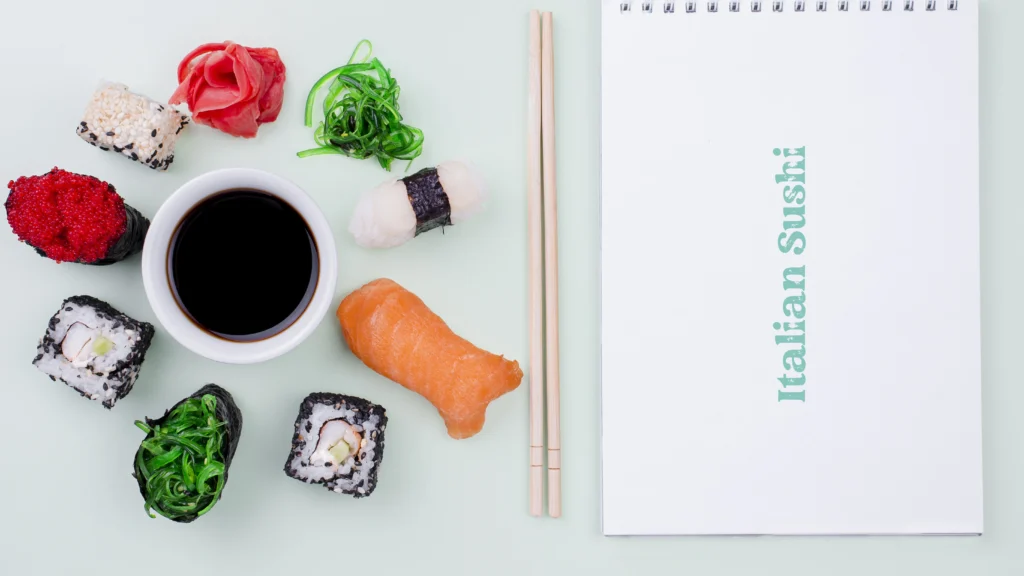
What is Italian Sushi?
So, what in the world is Italian Sushi? Is it raw fish with pasta? Absolutely not! Let’s call it what it is: a brilliantly fun, no-cook (well, almost) appetizer or main course that takes inspiration from the artful presentation of Japanese sushi but fills it with the heart and soul of Italy. Think of it as an inside-out charcuterie board, all rolled up and ready to grab. The name might sound like a culinary oxymoron, but once you taste it, it just makes perfect sense. They do say the way to a person’s heart is through their stomach, and this recipe is a one-way ticket. It’s playful, it’s unexpected, and it’s guaranteed to bring a smile to your face. Ready to see what all the fuss is about?
Why You’ll Love This Italian Sushi
You are going to be obsessed with this recipe, and here’s why. First, the 20-minute promise is real. This is a lifesaver on busy evenings when takeout is tempting, but you crave something fresh and homemade. It’s faster than waiting for a pizza delivery!
Second, it’s incredibly kind to your wallet. Making a platter of this gorgeous Italian Sushi at home costs a fraction of what you’d pay for a similar appetizer at a trendy restaurant. You control the quality of the ingredients and the portions, making it a cost-effective way to feel fancy.
Finally, the flavorful toppings are where you can shine. The combination of creamy basil pesto, sharp provolone, and rich sun-dried tomatoes is a classic for a reason, but this recipe is a canvas for your cravings. It’s as versatile as our popular Build-Your-Own Taco Bar, but with an Italian twist. So, grab your favorite ingredients and let’s create a meal you’ll be proud of!
How to Make Italian Sushi
Quick Overview
This dish is the epitome of easy, delicious, and satisfying. We’re using pre-cooked tortillas as our “nori” and a simple, creamy cheese spread as our “rice” to hold all the fantastic Italian flavors together. The standout element is the vibrant medley of meats, cheeses, and vegetables that creates a party in every bite. Best of all, from start to finish, you’re only about 20 minutes away from your first taste!
Key Ingredients for Italian Sushi
- 4 large (10-inch) flour tortillas
- 1 (8 oz) block of cream cheese, softened at room temperature
- 1/4 cup basil pesto (store-bought or homemade)
- 1/4 cup sun-dried tomatoes in oil, patted dry and finely chopped
- 12 slices of provolone cheese
- 12-16 slices of hard salami or soppressata
- 2 cups fresh arugula or spinach
- 1/2 cup roasted red peppers, sliced into thin strips
- Balsamic glaze, for drizzling
Step-by-Step Instructions
- Prepare the Creamy Base: In a small bowl, combine the softened cream cheese and basil pesto. Mix vigorously with a fork or a small spatula until it is completely smooth and evenly green. This is the “glue” for our rolls.
- Assemble the Tortillas: Lay one tortilla flat on a clean cutting board. Using a spoon or an offset spatula, spread a thin, even layer of the pesto cream cheese mixture over the entire surface of the tortilla, all the way to the edges.
- Layer the Fillings: Now for the fun part! Arrange 3 slices of provolone cheese in a single layer over the cream cheese. Next, place 3-4 slices of salami in a line down the center of the tortilla. Top the salami with a handful of arugula, followed by a line of sun-dried tomatoes and strips of roasted red pepper.
- Roll it Tight: Carefully lift the edge of the tortilla closest to you and begin rolling it away from you, tucking the fillings in as tightly as possible. Apply gentle but firm pressure to ensure a tight, compact roll. Repeat this process with the remaining tortillas and fillings.
- Slice and Serve: Using a very sharp serrated knife, trim off the uneven ends of each roll. Then, slice the remainder into 1-inch thick pieces. Wiping the knife clean between slices will give you the cleanest cuts. Arrange the rolls on a platter, cut side up.
- The Finishing Touch: Just before serving, drizzle the entire platter generously with the balsamic glaze. This adds a beautiful sweet and tangy finish that ties all the flavors together.
What to Serve Italian Sushi With
This dish is fantastic on its own, but you can easily turn it into a full feast! For a true Italian experience, serve it with a side of Marinara Dipping Sauce for an extra kick. A light and refreshing Arugula Salad with Lemon Vinaigrette complements the richness perfectly. If you’re serving a crowd, pair it with a chilled glass of Pinot Grigio or a sparkling Prosecco to cut through the creaminess and celebrate your culinary creation!
Top Tips for Perfecting Italian Sushi
- Room Temperature is Key: Ensure your cream cheese is truly softened. This is the secret to a smooth, spreadable base that won’t tear your tortillas.
- Don’t Overstuff: It’s tempting to add more of everything, but a moderate amount of filling is crucial for a tight roll that doesn’t burst at the seams.
- The Knife Matters: A sharp serrated knife is your best friend here. Use a gentle sawing motion for clean cuts without squashing the rolls.
- Customize Freely: This recipe is a guideline! Swap in your favorites: use ham instead of salami, mozzarella instead of provolone, or add some grilled zucchini or artichoke hearts.
- Drizzle Later: Always add the balsamic glaze right before serving to maintain the beautiful presentation and prevent the tortillas from getting soggy.
Storing and Reheating Tips
To store leftovers, place the unsliced rolls (without the balsamic glaze) in an airtight container. They will stay fresh in the refrigerator for up to 2 days. Sliced pieces can be stored similarly, though they may dry out slightly at the edges.
I do not recommend reheating these, as the tortilla can become tough and the fillings may separate. They are best enjoyed cold or at room temperature, making them a fantastic make-ahead option for picnics or parties. Unfortunately, these rolls do not freeze well due to the high moisture content of the fresh ingredients.
For More Recipes Visit : www.waniarecipes.com