
Introduction
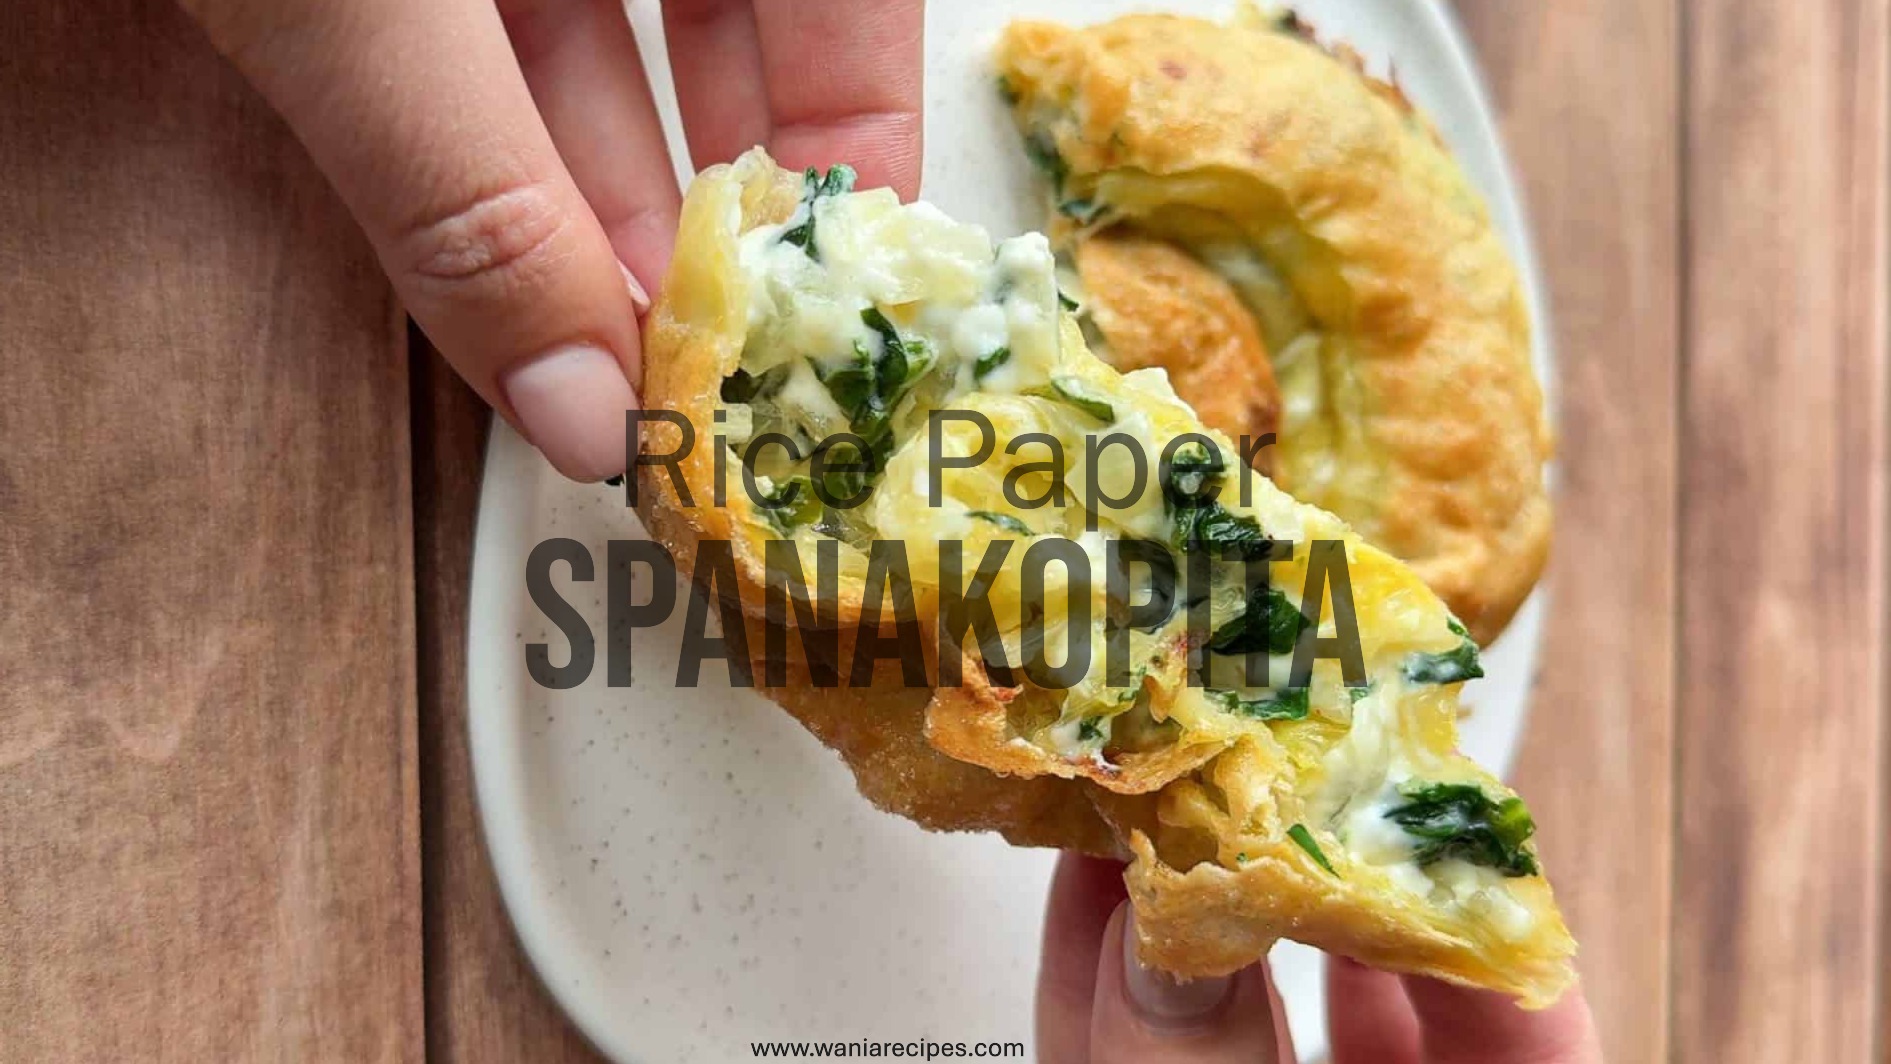
Imagine all the crispy, golden, flaky goodness of traditional spanakopita, but made in a fraction of the time and with a fraction of the stress. That’s the magic of this Rice Paper Spanakopita! This recipe is a total game-changer, transforming simple rice paper wrappers into impossibly crisp pockets filled with a creamy, savory, and herbaceous spinach and feta filling. It’s the perfect solution for anyone who loves the flavor of Greek pastry but has been intimidated by the delicate nature of phyllo dough. I first experimented with this method after one too many phyllo-related kitchen disasters, and the result was so good, it’s now a permanent fixture in my recipe rotation. It’s incredibly family-friendly, comes together in under an hour, and is a guaranteed crowd-pleaser. If you loved my easy approach to classic dishes in my Baked Feta Pasta recipe, you are going to adore this simple, healthy twist on a Mediterranean favorite. Get ready to fall in love with the easiest spanakopita you’ll ever make!
Table of Contents
What is Rice Paper Spanakopita?
So, what in the world is Rice Paper Spanakopita? Is it Greek? Is it Vietnamese? Is it some kind of glorious fusion food accident? Well, it’s a little bit of all three! The name simply means we’re taking the classic Greek spanakopita filling—spanaki for spinach, pita for pie—and giving it a modern, accessible makeover by using rice paper as the wrapper instead of traditional phyllo. Why call it that? Because it’s fun, descriptive, and honestly, just sounds delicious! It proves that the way to everyone’s heart is through their stomach, no matter what culinary tradition you’re borrowing from. It’s a testament to the fact that great food ideas have no borders. So, let’s embrace the mashup and get cooking!
Why You’ll Love This Rice Paper Spanakopita
You are going to be absolutely obsessed with this recipe, and here’s why:
- It’s Incredibly Easy & Foolproof: Forget about brushing layer upon layer of delicate, butter-soaked phyllo. With rice paper, you simply wet the wrapper, add your filling, and fold. It’s virtually impossible to tear, making this the most stress-free “pastry” you will ever handle. It’s the perfect recipe for cooking with kids or for a busy weeknight.
- It’s Surprisingly Health-Conscious: By ditching the phyllo and butter-brushing process, you automatically create a lighter version of this classic dish. We achieve that signature crispiness by baking or air frying with a light spray of oil, significantly cutting down on calories and fat without sacrificing any of that satisfying crunch.
- The Flavor is Unbeatable: The filling is the star, and it’s packed with authentic Greek flavor. We’re talking savory feta cheese, nutritious spinach, fresh dill and mint, creamy ricotta, and a hint of lemon zest. It’s a symphony of salty, creamy, and herby flavors in every single bite. If you’re a fan of these Mediterranean flavors, you’ll also love my Greek Lemon Chicken and Potatoes—they’d make a fantastic main course alongside these little pies!
Ready to make these irresistible parcels of joy? Let’s get started!
How to Make Rice Paper Spanakopita
Quick Overview
This dish is the epitome of simple, delicious, and satisfying. The process is straightforward: mix a flavorful spinach and cheese filling, wrap it in softened rice paper, and bake or air fry until golden brown and incredibly crispy. The best part? You can have these on the table in about 45 minutes from start to finish, with most of that time being hands-off baking time.
- Prep Time: 20 minutes
- Cook Time: 20-25 minutes
- Total Time: 45 minutes
- Servings: 12 pieces
Key Ingredients for Rice Paper Spanakopita
- 12 round rice paper wrappers (22cm size)
- 1 tbsp olive oil
- 1 small yellow onion, finely diced
- 2 cloves garlic, minced
- 200g (7oz) fresh spinach, roughly chopped
- 200g (7oz) feta cheese, crumbled
- 125g (1/2 cup) ricotta cheese
- 1 large egg, lightly beaten
- 2 tbsp fresh dill, chopped
- 1 tbsp fresh mint, chopped
- 1/2 lemon, zest only
- 1/4 tsp nutmeg (freshly grated is best!)
- Salt and black pepper to taste
- Olive oil spray or avocado oil spray
Step-by-Step Instructions
- Sauté the Aromatics: Preheat your oven to 200°C (400°F). Line a large baking sheet with parchment paper. Heat the olive oil in a large skillet over medium heat. Add the diced onion and cook for 3-4 minutes until softened. Add the garlic and cook for another minute until fragrant.
- Wilt the Spinach: Add the chopped spinach to the skillet in handfuls, stirring until it wilts and reduces in volume. This should take about 3-4 minutes. Transfer the spinach mixture to a colander and press with a spoon to drain any excess liquid. Let it cool for a few minutes.
- Make the Filling: In a large mixing bowl, combine the cooled spinach mixture, crumbled feta, ricotta, beaten egg, fresh dill, fresh mint, lemon zest, and nutmeg. Mix well until everything is thoroughly combined. Season with a pinch of black pepper. Be careful with salt, as the feta is already quite salty. Give it a taste and adjust if needed.
- Assemble the Spanakopita: Fill a large, shallow dish or skillet with warm water. Working with one rice paper wrapper at a time, submerge it in the water for about 5-10 seconds until it becomes pliable but still slightly firm (it will continue to soften). Carefully lay it flat on a clean cutting board.
- Fold and Shape: Place about 2 tablespoons of the filling in the lower third of the wrapper. Fold the bottom edge up over the filling, then fold in the sides, and roll it up tightly, like a burrito. Place the roll seam-side down on your prepared baking sheet. Repeat with the remaining wrappers and filling.
- Bake to Perfection: Lightly spray all the rolls with olive oil. This is the key to getting them golden and crispy! Bake for 20-25 minutes, flipping them halfway through, until they are golden brown and incredibly crisp.
- Serve and Enjoy: Remove from the oven and let them cool for a few minutes before serving. They are best enjoyed warm and crispy!
Air Fryer Instructions: This recipe works beautifully in an air fryer! Arrange the rolls in a single layer in the air fryer basket (you may need to work in batches). Lightly spray with oil and air fry at 190°C (375°F) for 10-12 minutes, flipping halfway through, until golden and crisp.
What to Serve Rice Paper Spanakopita With
These crispy parcels are incredibly versatile! Serve them as a stunning appetizer with a side of tzatziki sauce or lemony Greek yogurt for dipping. For a light lunch, pair them with a horiatiki (Greek village salad) full of tomatoes, cucumber, and olives. To turn them into a full meal, they are fantastic alongside a simple grilled protein like lemon oregano chicken breasts or a piece of baked salmon.
Top Tips for Perfecting Rice Paper Spanakopita
- Don’t Over-Soak the Wrappers: The biggest mistake is leaving the rice paper in water for too long. It should be pliable but still have a tiny bit of stiffness. If it becomes too soft and floppy, it will be very difficult to handle and may tear.
- Squeeze Out Liquid: Ensuring your spinach mixture is well-drained is crucial. Excess moisture will make the filling watery and can steam the rice paper, preventing it from getting ultra-crispy.
- Spray, Don’t Brush: Using an oil spray is the easiest and most effective way to get a thin, even coating of oil on the rolls, which is essential for that golden, crackly finish.
- Make-Ahead Friendly: You can assemble the rolls ahead of time and keep them covered in the fridge for a few hours before baking. You can also freeze them unbaked on a baking sheet, then transfer to a freezer bag. Bake from frozen, adding a few extra minutes to the cooking time.
Storing and Reheating Tips
Storing: Allow any leftover Rice Paper Spanakopita to cool completely. Store them in an airtight container in the refrigerator for up to 3 days.
Reheating for Best Crispiness: The oven or air fryer is your best friend for reheating! To revive their crispness, reheat in a 180°C (350°F) oven for about 10 minutes, or in an air fryer at 160°C (320°F) for 5-6 minutes. The microwave will work in a pinch but will make them soft and chewy.
Freezing: As mentioned, these freeze beautifully before baking. Lay the assembled, unbaked rolls on a parchment-lined tray and freeze solid. Once frozen, transfer them to a freezer-safe bag or container. They can be baked directly from frozen; just add 5-10 minutes to the baking time.
For More Recipes Visit : www.waniarecipes.com